
Use a sharp, recognizable subject
Portraits, pets and simple landscapes work well when their edges are clear. A blurry face, tiny subject or poor-quality screenshot will stay unclear in the finished model.
01 Photo to backlit 3D print
Turn JPG, PNG and WebP photos into 3D printable lithophane STL files. Make a flat or curved panel, adjust thickness, compare the backlit preview and download your model for free.
Choose a photo or example to make a 3D picture that you can light from behind.
Choose a photo to see it here.
Preview how light may reveal the picture.
02 Free online tool
This lithophane maker turns a photo's light and dark areas into a thin 3D panel. Lighter parts let more light through; darker parts are thicker, so the picture appears when you light it from behind.
Upload a JPG, PNG or WebP image and choose a flat or curved panel. Your photo stays on your device while the browser creates an STL. Not sure which picture to use? Read the photo preparation tips. For a raised picture viewed without backlighting, try Image to STL instead.
03 Simple workflow
Upload a JPG, PNG or WebP smaller than 15 MB, or try a sample. Crop distracting edges if needed.
Set the panel width, minimum and maximum thickness, and curve angle if needed.
The 3D model updates as you change settings. Rotate it, then compare the original photo with the simulated backlit effect.
Click Create STL File, then download the STL. Check its size and layers in your 3D-printing software (slicer) before printing.
04 How it works
A lithophane is a thin 3D printed panel that reveals a picture when illuminated from behind. Darker parts are thicker and block more light; lighter parts are thinner and allow more light through.
A raised photo relief is meant to be viewed from the front. A lithophane is meant to be viewed with a light behind it. The STL saves the 3D shape, not your photo's colors. The backlit preview is a simulation, not a photo of a finished print.
05 Better source photos
Your photo is just as important as the thickness settings. Start with a picture that would still be easy to recognize in black and white.
Portraits, pets and simple landscapes work well when their edges are clear. A blurry face, tiny subject or poor-quality screenshot will stay unclear in the finished model.
A photo that is nearly all bright or all dark may appear flat when backlit. Choose a picture with visible features in shadows and highlights, then adjust Contrast and Brightness gradually.
Use Photo and detail adjustments → Crop edges to remove a matching percentage from every side. The crop stays centered; you cannot move it across the picture. If your subject is to one side, crop the picture before uploading.
Transparent areas become white in the picture; they do not turn into holes in the panel. For a cutout logo or raised badge instead, use PNG to STL.
Supported files: JPG, JPEG, PNG and WebP up to 15 MB. The finished STL uses the light and dark parts of the picture, not its colors.
06 Choose a panel
Both shapes use your photo's light and dark areas to control panel thickness. Choose the display style that matches your project.
A flat, rectangular panel is a simple choice for framed photographs and backlit displays. Start here if you are making your first lithophane.
The model size follows your photo's proportions. Try 100 mm width, 0.8 mm minimum thickness and 3.2 mm maximum thickness.
Use a curved photo panel for a freestanding display or a part that fits a separate holder. Adjust the arc between 30° and 270°. Width is measured along the curved panel, not in a straight line between its ends.
This makes a curved photo panel, not a complete lamp or stand. Check its finished dimensions in your 3D-printing software before making a holder.
07 Read the previews
Check all three views before downloading. Each view helps you check something different. You will still need to inspect the STL in your slicer and test the actual print.
This view shows the selected photo after the centered crop. Check whether the face, pet or main object is large enough in the frame and whether important details have been cut off.
This shows an estimate of the picture with light behind it. Look for missing bright areas, faces that are too dark or details that blend together. The real result will depend on your PLA and light source.
Turn and zoom the model to check its shape and size. The surface check can find some open gaps, but you still need to inspect the STL in your slicer before printing.
Open Photo and detail adjustments. With Dark areas thicker enabled, dark pixels block more backlight. If light and dark appear reversed, check that option and compare the backlit preview again.
08 Better print results
These are useful first-test settings, not universal printer specifications. Always confirm the model and material in your slicer.
| Setting | Starting point | Why it matters |
|---|---|---|
| Panel width | 100 mm | Adjust for your frame and printer; height follows the image ratio. |
| Minimum thickness | 0.8 mm | Sets the thinnest and most light-transmitting areas. |
| Maximum thickness | 3.2 mm | Controls darker areas that block more light. |
| Photo contrast | +20 | Adjust if the image looks washed out or too dark. |
| Model detail | Medium | Start with Medium. High or Ultra can make the STL larger and will not fix a blurry photo. |
| Filament | White or natural PLA | Different filaments transmit light differently. |
| Infill | 100% or fully solid | Reduces the risk of internal infill patterns appearing under backlight. |
| Layer height | 0.12–0.16 mm | A practical test range, not a rule for every nozzle or printer. |
| Lighting | Even LED backlight | Uneven light can make the print appear patchy. |
Thickness settings define the STL shape. Your printer's wall count, layer height, material and light source still need to be checked separately. For context, Prusa's Lithophane PLA+ guidance recommends 100% infill and a 0.8–5 mm thickness range for that specific material; other filaments may behave differently.
09 Try these values
Try these settings for your first lithophane, then adjust them for your photo, filament and light source.
For example, a 1200 × 900 pixel photo set to 100 mm width gives a flat panel about 100 × 75 mm before considering its thickness. Other photo proportions produce a different height.
Choose 0.8 mm minimum and 3.2 mm maximum, with Dark areas thicker enabled. Brighter parts stay thinner; darker parts become thicker and block more light.
Try Contrast +20, Smoothing 1 and Medium detail. If the photo looks muddy, first adjust its brightness or contrast; use High only when the source contains detail worth keeping.
Download the STL, inspect it in a slicer, and test a small sample with the intended filament and LED. Look at the result under the real backlight before committing to a large framed print.
Curved panel note: In Curved mode, Width is the distance along the curved surface before bending. The direct distance between the two ends will be smaller. Check the displayed 3D dimensions before making a holder.
10 Photo examples
Try one of these photos in the tool above. Use the suggested settings, then compare the 3D model with the estimated backlit picture.

Make a flat backlit portrait. Try a width of 100 mm, 0.8 mm minimum thickness and 3.2 mm maximum.
Flat · 100 mm · 0.8–3.2 mmDownload example photo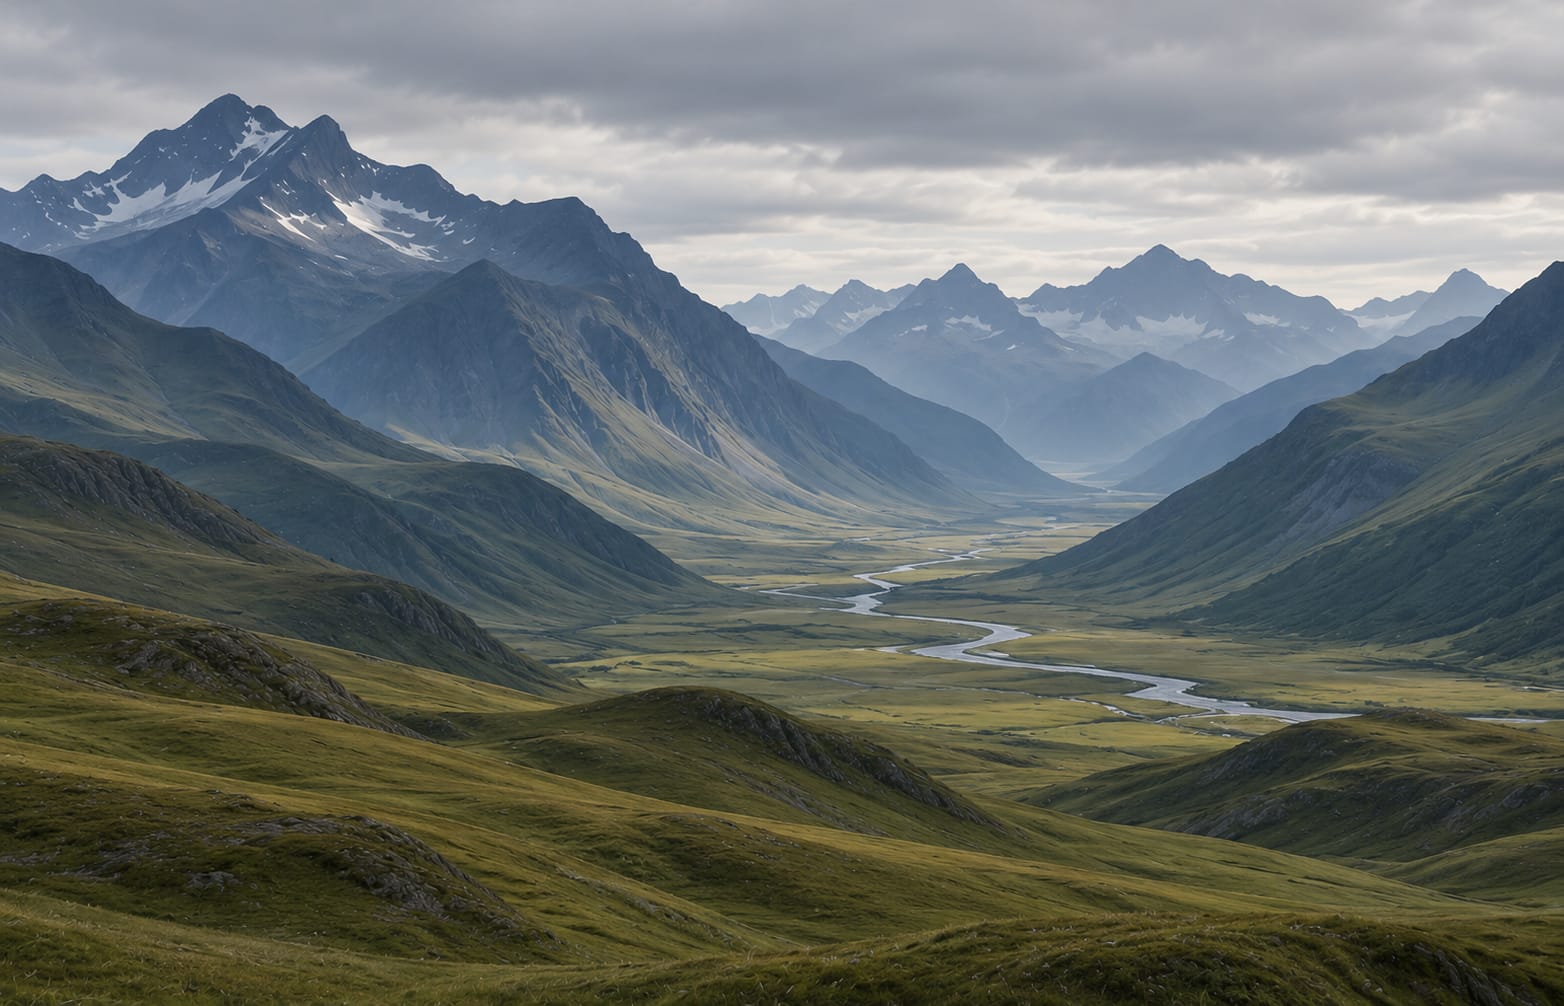
Turn a landscape picture into a curved photo panel. Start with a 120° arc and compare the 3D preview.
Curved · 120° arc · 100 mmDownload example photo
Test whether a high-contrast drawing gives a readable backlit design before printing.
Flat · medium detailDownload example photoThese are photos to try in the converter, not pictures of finished prints. The backlit effect is an estimate; a test print shows how it will really look.
11 Print and light it
Check the STL in your slicer before printing. The finished print may look different from the preview.
Open the STL in Bambu Studio, Cura, PrusaSlicer or your preferred slicer. Check the final dimensions, minimum thickness, gaps and orientation.
White or natural PLA is a practical starting point. Try a fully solid print or 100% infill so patterns inside the model do not show through when backlit.
Many flat lithophanes are printed standing on their edge for fine detail. A tall, thin panel can wobble, so check bed adhesion and consider a brim if needed. Curved panels may require a different placement. Preview the layers to check for unexpected supports.
Print a small test version or sample section first. Place an even LED light behind it and compare the brightest and darkest features. If the whole print is too dim, adjust the thickness range or light source before printing the full-size panel.
12 Troubleshooting
Most problems can be improved by changing photo contrast, thickness, detail or lighting.
Try reducing maximum thickness, checking whether dark areas are thicker, and using a brighter, more even backlight. Test a smaller print first.
Start with a sharper original picture. Reduce excessive smoothing, try High detail and check your sliced layer preview. Increasing STL detail cannot repair a blurry photo.
Use the Dark areas thicker option in photo adjustments and compare the simulated backlit preview. Correct contrast and darkness before printing.
Lower Model detail from Ultra to Medium or make the panel smaller. High or Ultra detail makes the STL file larger, but it cannot restore details missing from a blurry photo.
Check the sliced layer preview and the actual printed walls. Internal infill may become visible under light, so try a fully solid setup. Also review layer height, printer calibration and even backlighting.
Remember that panel Width follows the curve, not a straight ruler across its front. Check the generated STL dimensions, actual curve angle and the holder clearance before printing both parts.
13 Related workflows
Need to work with an image, inspect your STL or fix a model?
Inspect and measure STL files online
02Resize, rotate, mirror and separate STL files
03Fix broken mesh errors and non-manifold geometry
04Reduce STL file size and triangle count locally
05Convert 3MF projects to STL files
06Convert STL meshes to 3MF with the right units
07Estimate filament, electricity, machine and selling price
08Convert STL meshes to OBJ files
09Convert transparent PNG logos and icons into STL
10Turn JPG photos into relief and lithophane STL models
11Turn photos, logos and 2D artwork into STL models
12Extrude vector logos and filled SVG paths into printable STL files
14 Common questions
A lithophane is a thin 3D printed panel that reveals a picture when light shines through it from behind. Darker areas are thicker and let less light through, while lighter areas are thinner and let more light through.
Yes. You can turn JPG, PNG and WebP photos into lithophane STL files for free without signing up. The photos are processed in your browser and are not uploaded to our servers.
Choose a photo, select Flat or Curved, set the panel width and thickness, inspect the 3D and simulated backlit previews, then prepare and download your STL. Open it in your 3D-printing software (slicer) to check the size and layers before printing.
For a first test with white PLA, try a 0.8 mm minimum and 3.2 mm maximum thickness. The best result depends on your filament, light source and print settings. Adjust and test before making a large print.
Choose Flat for a picture frame or light box. Choose Curved for a photo panel that bends around part of a circle. You can adjust the bend, but you will need to make any stand or lamp housing separately.
Start with a sharp, well-lit photo with a clear subject and visible detail in both light and dark areas. Avoid severe blur and heavy noise. Crop distractions and adjust contrast if the picture looks too flat.
White or natural-colored PLA is a useful starting point because light can pass through thin sections. Different brands and colors transmit light differently, so use a small test print to judge the result.
Many makers print a flat lithophane standing upright to improve visible detail. Check printer stability, adhesion, supports, and your slicer's preview. The best orientation may differ for your machine and design.
A solid print is a common starting point because internal gaps or patterns can show through when backlit. Start with 100% infill or enough solid walls to avoid visible interior patterns. Check the settings in your slicer before printing.
The thick areas may block too much light, or the backlight may be weak. Test a smaller maximum thickness, brighter and more even lighting, or different contrast. The backlit preview is only an estimate; check the result with your actual light source.
No. Standard STL stores the model's shape, not the photo colors. The image appears through differences in material thickness and backlighting. This tool does not generate a full-color lithophane.
Yes. Download the STL, open it in your preferred slicer, confirm the model size in millimeters, choose suitable filament and orientation, and inspect the layer preview before printing.
You can make flat and curved photo panels here. Frames, lamp housings, stands and heart-shaped designs must be made separately.
Crop edges removes the selected percentage from each side of the photo before making the model. For example, 10% crops 10% from the left, right, top and bottom. The crop is centered, so you cannot move the crop box to another part of the photo.
Width measures the panel along its curve. Once it bends, the straight distance between its ends is smaller. Check the finished 3D dimensions before fitting it into a holder.
Transparent parts of a PNG become white in the lithophane. They will not turn into holes. Use a photo with a suitable background, or try Image to STL if you want a solid logo outline.
It shows an estimated picture with light shining through the thinner and thicker areas. Your finished print may look different depending on the filament, printer and LED you use.
No. High and Ultra make a more detailed, larger STL file, but they cannot make a blurry photo sharp. Start with a sharp image and Medium detail, then increase detail only if needed.